Cleaning two 150 gallon fuel tanks on a mooring
Fika's aluminum fuel tanks were gunked up and had no way in. So I made access hatches, cleaned the tanks out with a pressure washer fed by gravity, and gave them three coats of a fuel-grade epoxy lining.
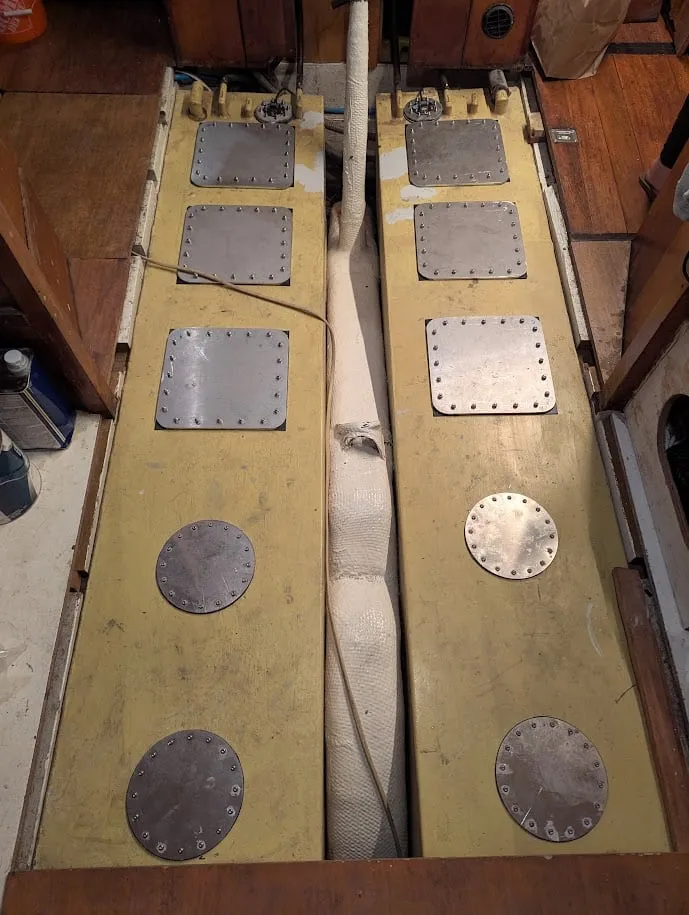
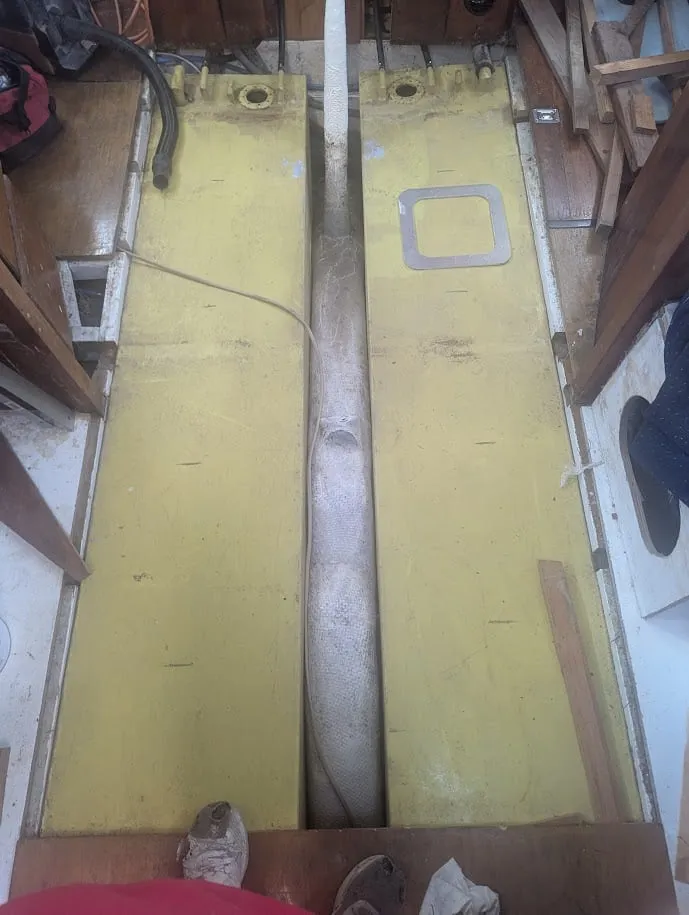
Fika carries her diesel in two aluminum tanks of 150 gallons each, under the cabin sole. Both were gunked up and needed cleaning, which is why the fuel polishing system went in first. The catch: neither tank had any access ports. There was simply no way to get inside them to clean.
Making the hatches
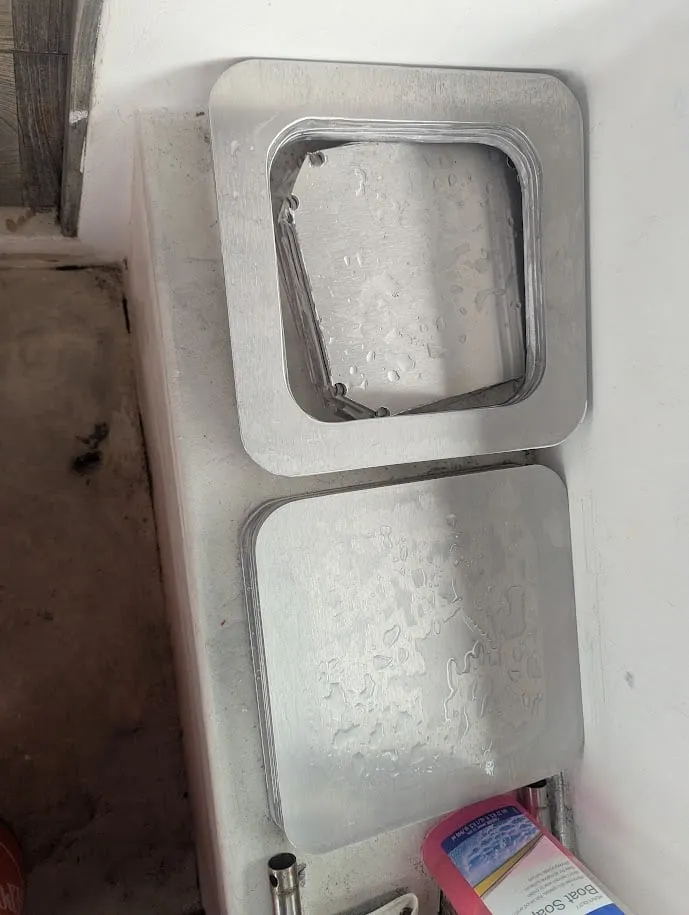
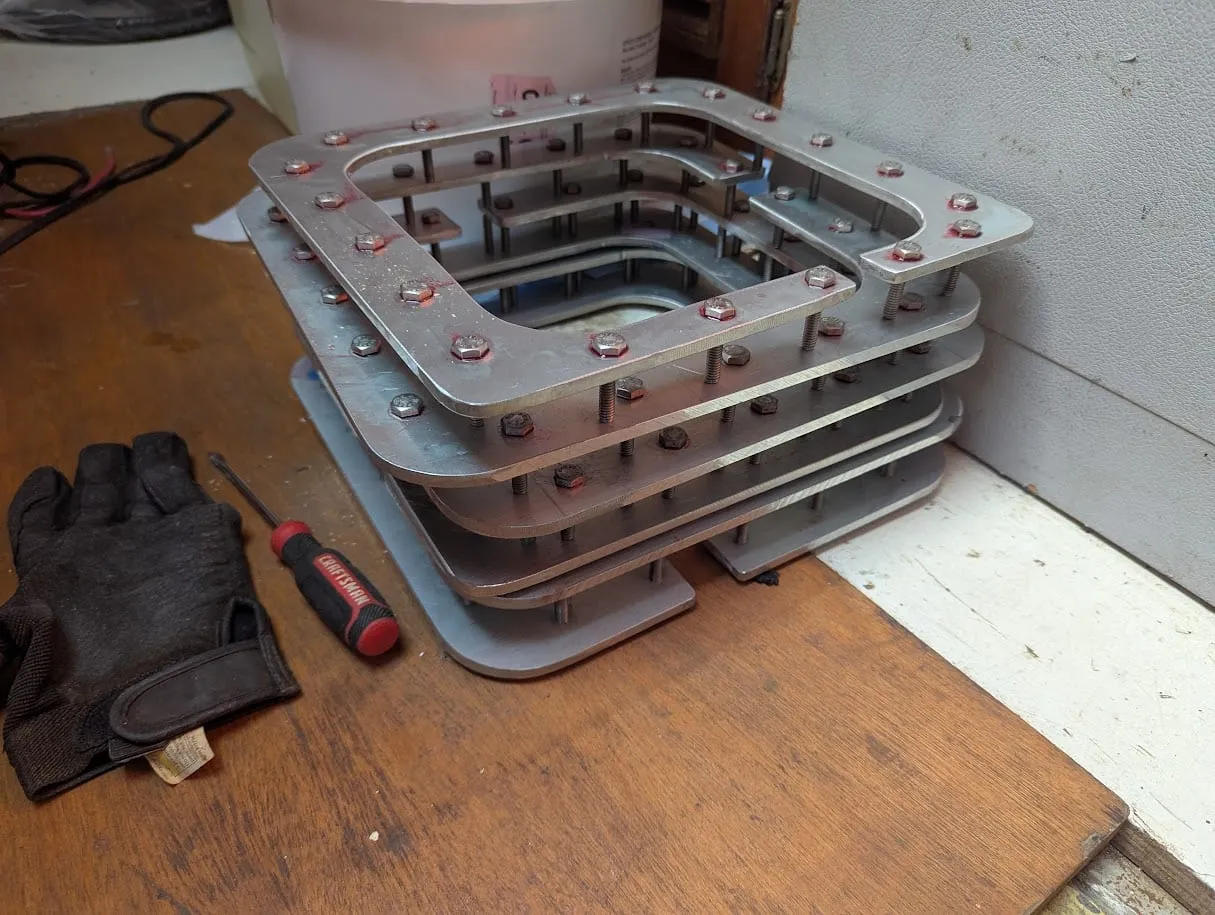
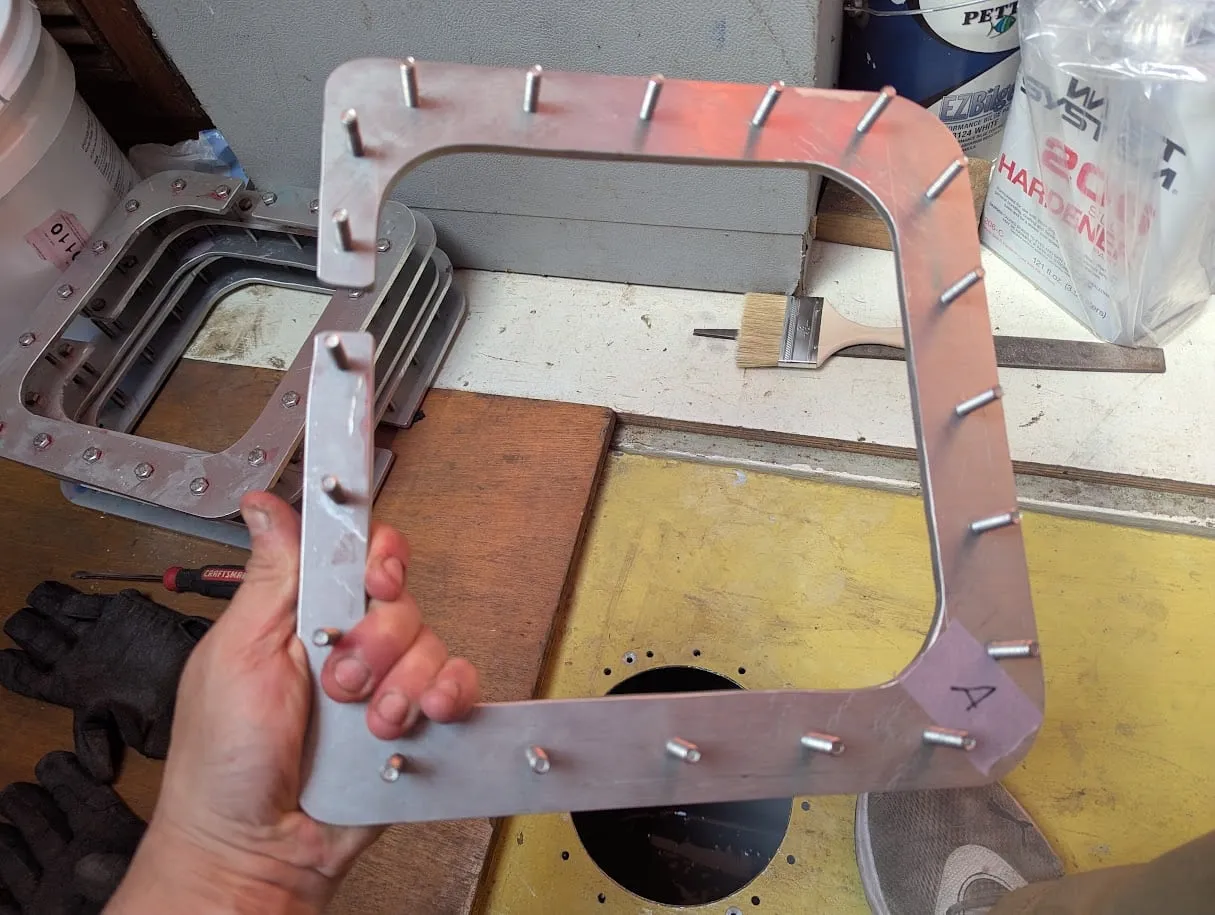
So I made my own. The hatches are cut from 3/8 inch aluminum plate with a grinder. Each hatch has an inner ring that holds its mounting bolts, and seals with Viton, a gasket material made to stand up to diesel.
A mooring doesn’t come with a drill press, so I borrowed a friend’s. Thanks to Ken on S/V Sagacious!
Cutting in
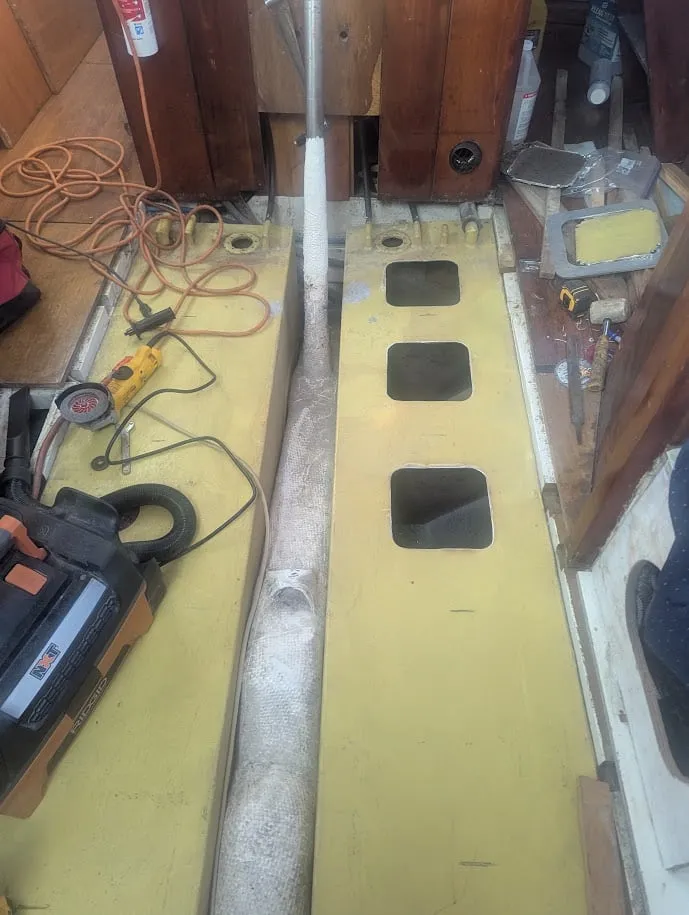
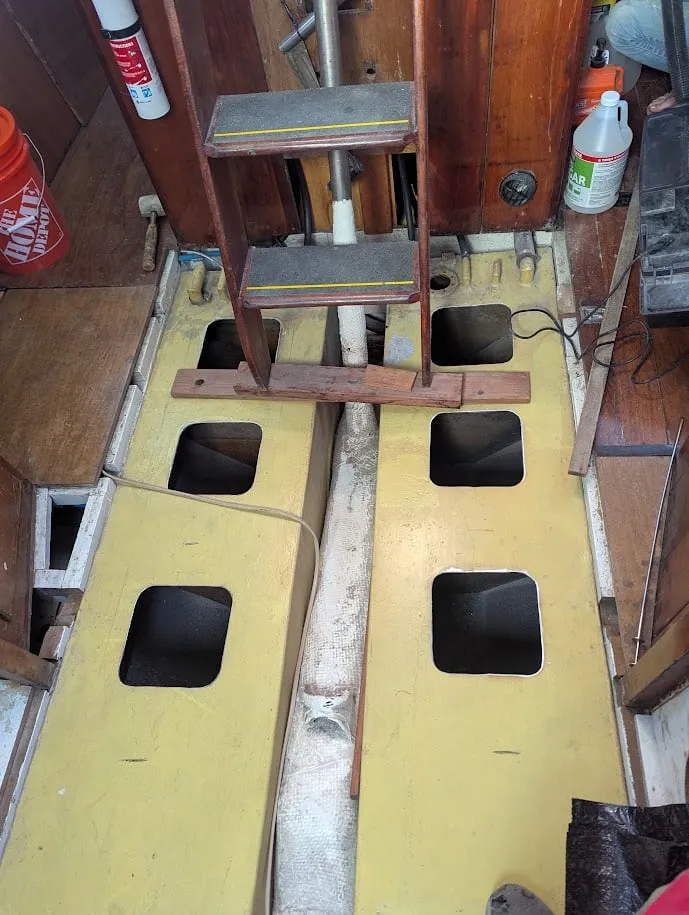
Then came the openings in the tank tops, five per tank by the time I was done.
Cleaning, on a mooring
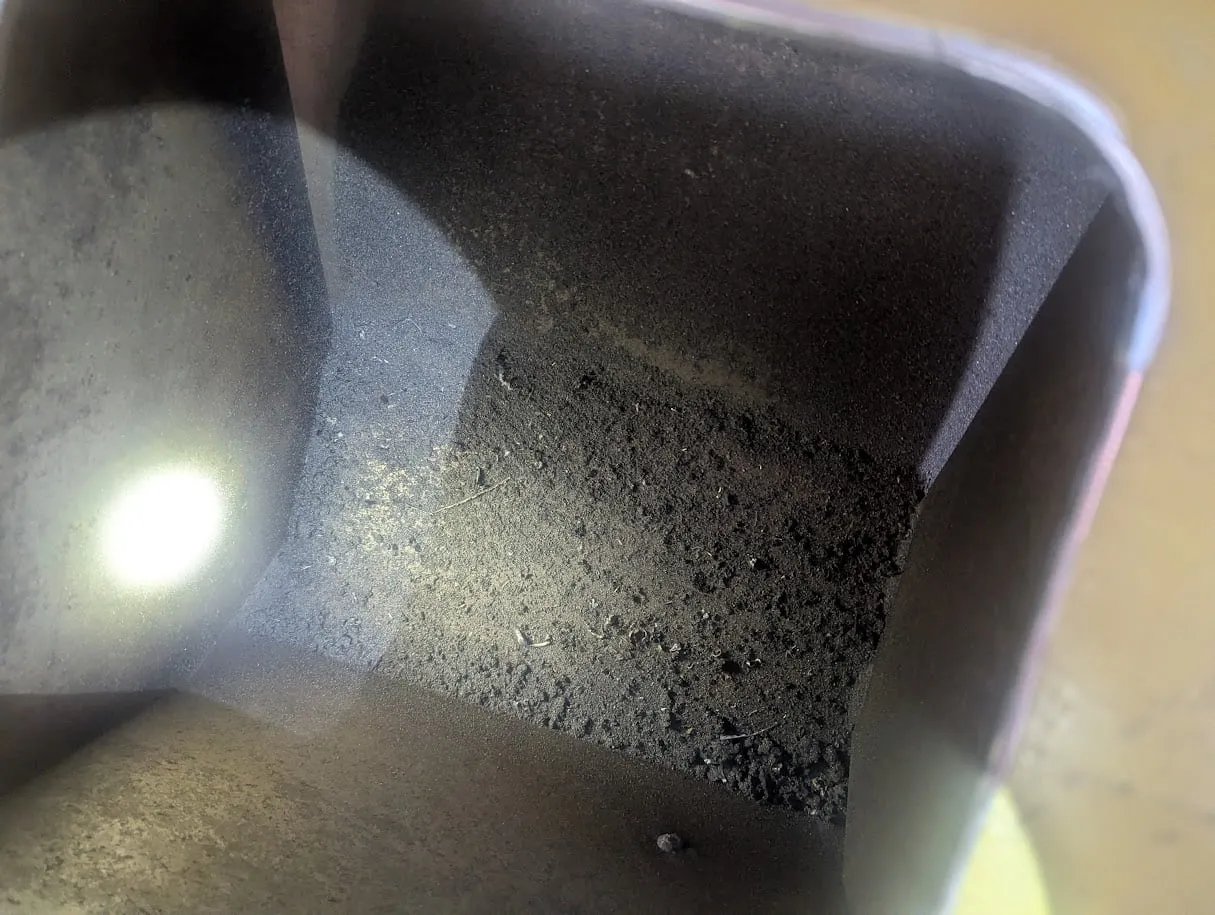
Each tank was scraped out, pressure washed, and degreased.
The pressure washing took some improvising. A pressure washer needs water coming in under some pressure, and on a mooring there’s no hose bib. My answer was 5 gallon buckets of water hung above the companionway, siphoning down to feed the pressure washer’s intake.
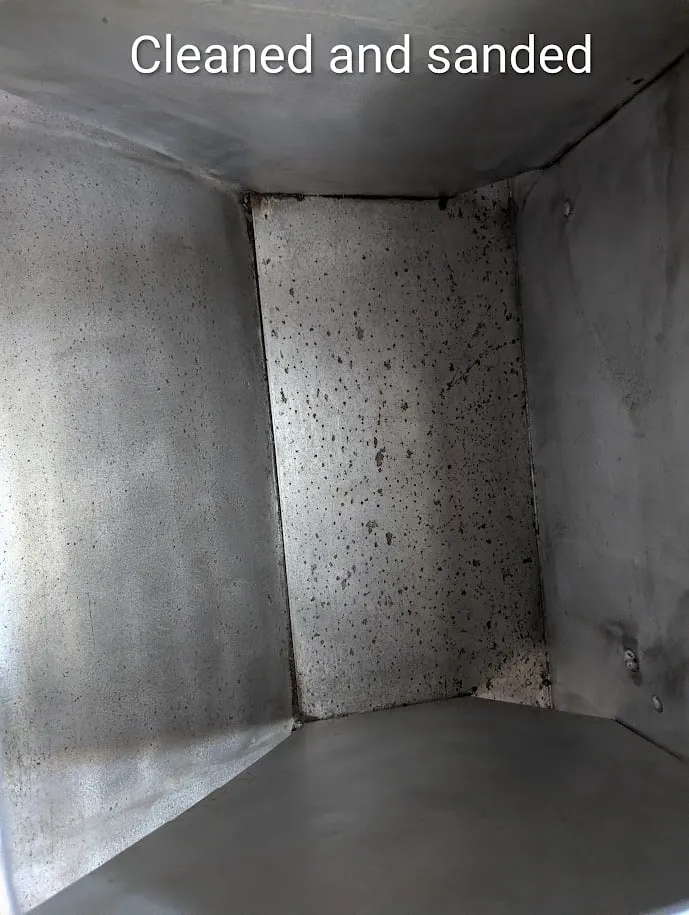
With the tanks clean, the bare aluminum showed something I didn’t like: it had started to pit.
Coating
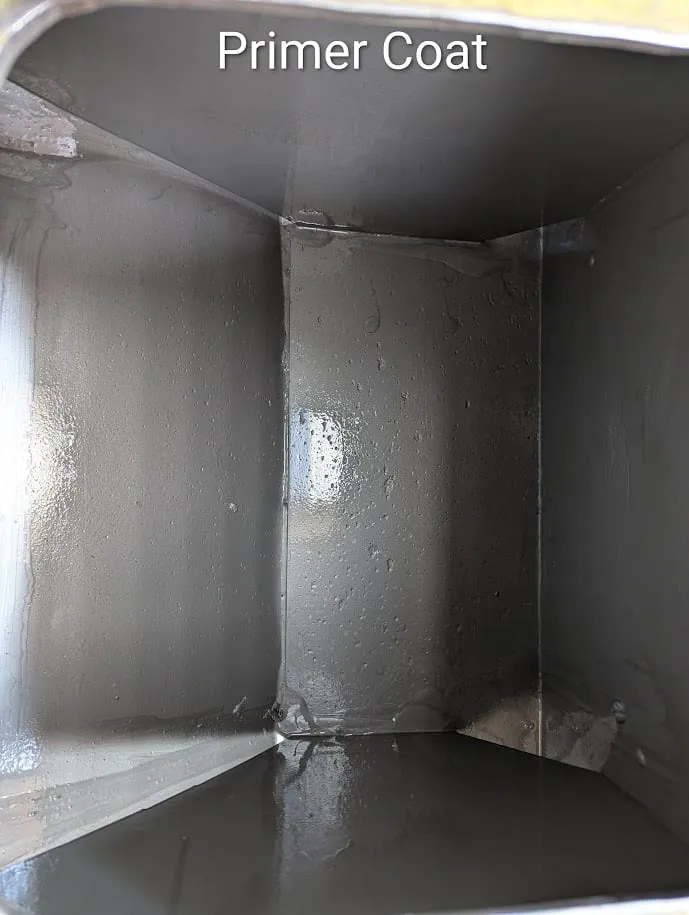
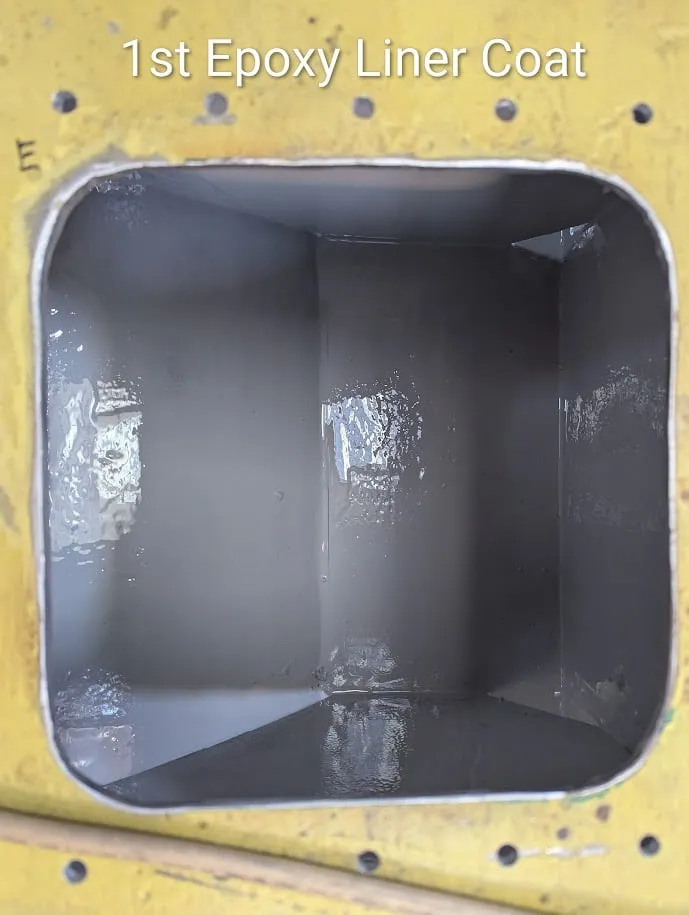
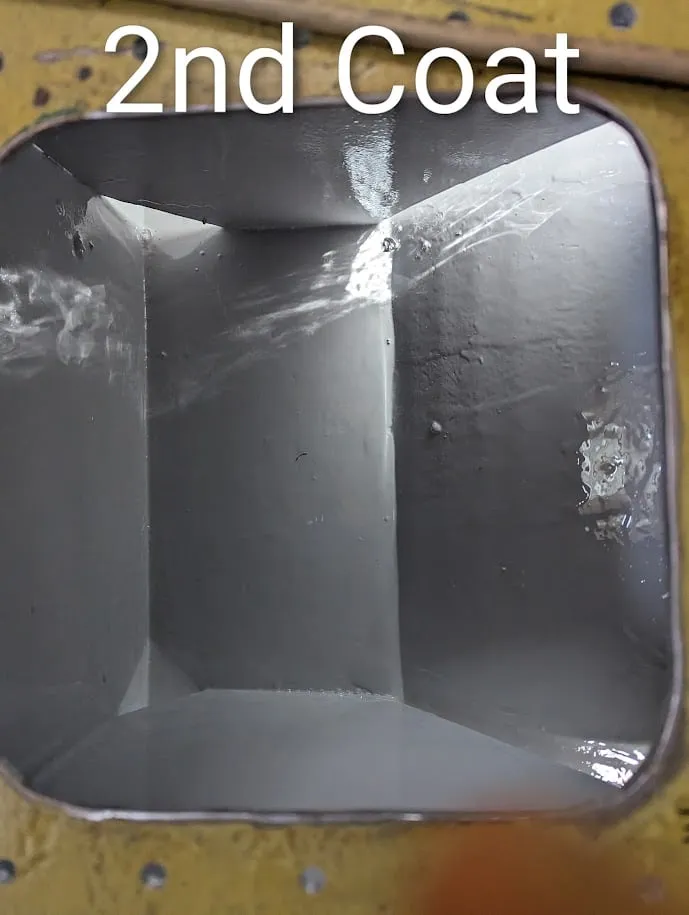
Rather than leave the pits to grow, I coated the inside of both tanks with three coats of a two-part coating made for diesel, from Epoxy.com: their Universal Primer (#660), then their #633 Light Gray. The goal was to fill the pits and seal the aluminum, so these tanks give us many more years of service.
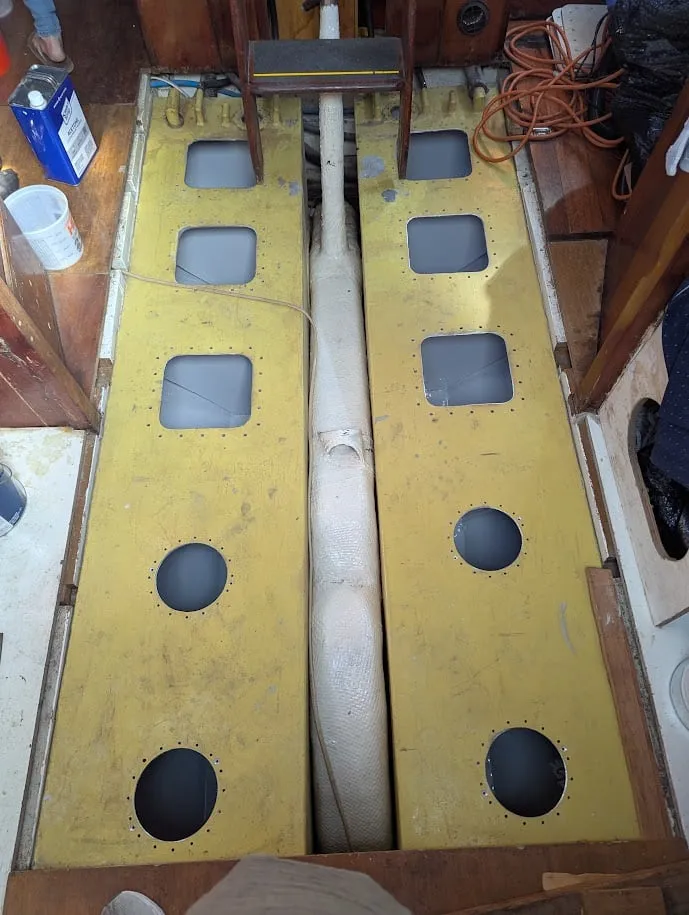
While we were in there
With the tanks open and the system apart, it was the right time to replace the rest of the fuel fittings too:
- New tank level senders in each tank, so we’ll know how much fuel we’re carrying. They still need to be wired up.
- Separate exterior fuel vents, one for each tank.
- A new diesel fill fitting on deck, with new fuel hose running to both tanks.
Done
With the hatches bolted down, the tanks were finished on March 31, 2026, about two months after I started in February. And if they ever need attention again, there’s finally a way in.